One of the enjoyable things of writing your Master’s thesis is that you have all kinds of excuses to side-track on stuff that’s wildly irrelevant to its outcome. Being an expert on ‘I have enough time to figure this out’-isms, I took to figuring out how to design my cover page in LaTeX. The folks over at my university’s Corporate Design department are nice and all, and they provide a lot of resources that conform with the corporate identity guidelines, but sure enough, things are lacking on the LaTeX front. While browsing for a template for my report, I only found Microsoft Word and OpenOffice templates. While the OpenOffice templates are laudable, an academic institution of their calibre ignoring LaTeX is a little disappointing.
Given I had a little over a week before before the deadline of my thesis, I figured this was the ideal moment to distract myself with some hours of digging through poorly documented LaTeX features and see what I could come up with.
Resources
First of all, let’s talk resources. After some half-assed Googling on ‘latex nice title pages’, I came across this StackExchange answer, by a main contributor of the LaTeX project, Frank Mittelbach. The first answer was giving me a headache, and seemed generally unnecessarily straight-forward. Surely there was a h̶a̶r̶d̶e̶r̶ more LaTeX way to do this? Thankfully, Frank to the rescue.
The answer is, of course, LaTeX coffins. Yes, coffins as in the thing you step into when you’re done with the whole life-thing. Look I’m not getting into a history lesson here, if you’re feeling nervous about it try reading this. Googling for the terms ‘LaTeX coffins’ gives you a bunch of results that aren’t interesting, except of course for a fascinating Kylie Jenner article.
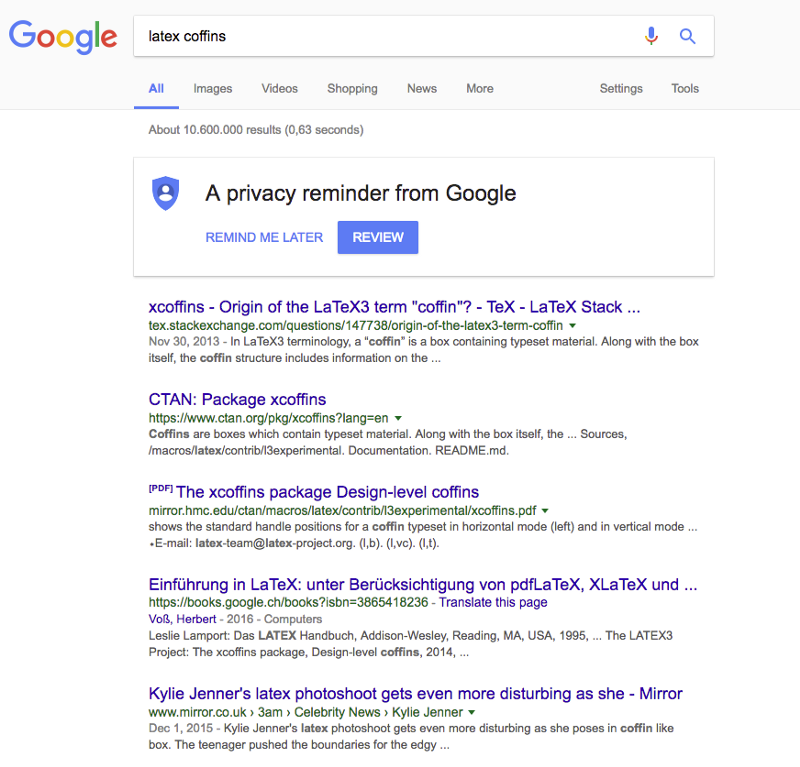
Glossing over the hilarity of a multi-billion company still having difficulties with their core value-proposition working properly, this should already start some alarming bells in your head. Googling for the package gives you this type of results? Surely this is going to be a fun ride! Here’s a list of high-quality curated links by yours truly:
- Another F. Mittelbach cryptic answer, make sure to revel in the irony of his answer, solution, and the question title ‘Is there no easier way to…’
- The xcoffins documentation (ok this one is actually good)
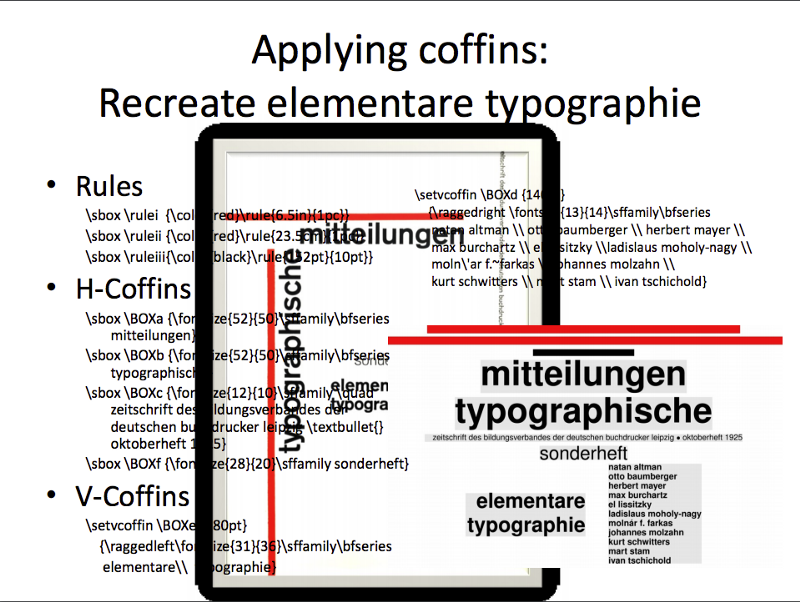
- A slideshow that makes your eyes bleed by the guy who wrote this ‘design’ package (worth a look if you don’t plan on sleeping tonight)
- The source code to a designed page (together with the documentation, probably the best resource)
Hands-on with coffins
[[muffled ‘doot-doot’ in the distance]]
After this thinly-veiled, poorly-worded rant, let’s have at it with xcoffins. First of all, here’s what we’re going to try to achieve (ok not really, it’s more of a creative guideline):

Here I must thank the undoubtedly Swiss design gods: they opted for an efficient, blocky design, no fancy curves, which makes our lives consequently about a bajillion times easier. Get yourself the xcoffins, geometry and xcolor packages. I’m using XeLaTeX because it’s an engine that doesn’t get shitty when trying to include system-installed fonts. Fuck you pdflatex I thought we were friends.
The way the design with xcoffins works is somewhat similar to pre-Python era programming I guess. After sacrificing your first-born son to the blood-god, you have to initialise the variables, after which you define them, and subsequently use them (mind = blown). In LaTeX terms, the following:
% Initialise coffins
\NewCoffin \result
\NewCoffin \topbox
\NewCoffin \ethlogo
\NewCoffin \imagebox
\NewCoffin \textbox
\NewCoffin \textboxtext
\NewCoffin \textboxsubtext
\NewCoffin \authortext
\NewCoffin \departmentlogo
% Define coffins
\SetHorizontalCoffin \result {}
\SetHorizontalCoffin \topbox {\color{ethblue}\rule{220mm}{3cm}}
\SetHorizontalCoffin \ethlogo {\includegraphics[width=50mm]{ethlogo}}
\SetHorizontalCoffin \imagebox {\includegraphics[width=190mm]{ethphoto}}
\SetHorizontalCoffin \textbox {\color{ethblue}\rule{190mm}{100mm}}
\SetVerticalCoffin \textboxtext {160mm} {\fontsize{40}{48}\dinprobold\noindent\textcolor{white}{Next-generation \\ self-checkout systems}}
\SetVerticalCoffin \textboxsubtext {160mm} {\fontsize{21}{25}\dinproregular\noindent\textcolor{white}{MSc Thesis \\ May 2017}}
\SetVerticalCoffin \authortext {160mm} {\flushright\fontsize{21}{25}\dinprolight\noindent\textcolor{white}{Laurent M. Hubert}}
\SetHorizontalCoffin \departmentlogo {\includegraphics[width=50mm]{mteclogo}}
All in all this should be pretty straightforward, at least part 1: just initialise all the boxes you think you’ll need. In this case, think of boxes as design elements: coloured blocks, images, text etc.
Vertical coffins doesn’t mean much more than ‘spans multiple lines’ as far as I can tell. Haven’t bothered to re-read the documentation about it.
Of course, I’ve got some rules in my preamble for the ethlogo and dinpro* commands (DIN Pro being the ETH Zürich CI font which I obtained totally legally after they refused to provide it for download to students):
\definecolor{ethblue}{RGB}{31, 64, 122} % You'll need xcolors package to be able to do this
% You'll need fontspec and XeLaTeX or other engine that supports this package (not pdflatex apparently that's an unwanted child of sorts). Of course the whole damn thing is pointless if you don't actually have the font installed, so do that first.
\newfontfamily\dinprobold{DINPro-Bold}
\newfontfamily\dinproregular{DINPro-Regular}
\newfontfamily\dinprolight{DINPro-Light}
Fuck is \result?
Yeah, look pal, I’m not getting into the details of this, go read the documentation if you want to get a headache that badly. All you need to know is this:
- It’s the beginning anchor, relative to which you’ll define all other positions of the elements. Think of it as the origin of an axis system.
- Its location on the page is defined by a geometric constraint which we’ll get to in a second.
Positioning the coffins
[[doot-dooting intensifies]]
Alright buddy I’m going to need you to pop a bunch of painkillers and bring all the mental resources you have like when you’re hunting on Tinder for matches with names that have pun-potential.
\JoinCoffins \result \topbox
\JoinCoffins \result[\topbox-hc, \topbox-b] \imagebox [hc, t](0mm,10mm)
\JoinCoffins \result[\imagebox-l, \imagebox-t] \ethlogo [l, b](-5mm,0mm)
\JoinCoffins \result[\imagebox-l, \imagebox-b] \textbox [l, t](0mm,0mm)
\JoinCoffins \result[\textbox-hc, \textbox-t] \textboxtext [hc, t](-5mm, -5mm)
\JoinCoffins \result[\textboxtext-l, \textboxtext-b] \textboxsubtext [l, t](0mm, -5mm)
\JoinCoffins \result[\textbox-r, \textbox-b] \authortext [r, b](-5mm, 5mm)
\JoinCoffins \result[\textbox-l, \textbox-b] \departmentlogo [l, t](-7mm, -5mm)
Actually when you look at it like this it ain’t half bad. The first command simply joins your first element to the page anchor \result. So far, so good. After that, things get interesting. You’ll still be joining to \result , but it’s actually an element in \result that you’re joining to, in this case \topbox. The rest is worth dissecting in more detail:
\result[\topbox-hc, \topbox-b]
Coordinate 1: Effectively, I’m specifying a point on \topbox, where hc stands for horizontal center while b stands for bottom. Do the math, that’s effectively the mid-bottom of the \topbox element.
\textbox [l, t](0mm,0mm)
Coordinate 2: Next, I’m specifying a point on the \textbox element, where l stands for left, while t stands for top. Doing the complicated math again, this means the top-left corner of the textbox element.
With these two points defined, xcoffins will place the elements in such a way that these exact points overlap.
(0mm,0mm)
Offsets: Of course, we can mess with offsets to get our positioning just right. In this case, I just want the two points to overlap exactly, hence (0, 0). I could however displace the image after the overlap is done, using these (x, y) coordinate offsets.
Again, if you want to understand these commands better, {read the fucking manual](http://www.pirbot.com/mirrors/ctan/macros/latex/contrib/l3experimental/xcoffins.pdf).
Slapping it on the page
Now that you’ve got everything set up, time to slap it on the page:
\begin{document}
% Generate the page
\thispagestyle{empty} % Don't know what this does tbh
\newgeometry{left=0mm,bottom=0mm, top=0mm, right=0mm}
\noindent\TypesetCoffin \result % More magical incantations
\restoregeometry % Limit shitty margins to only this page
To be completely honest with you, half of this shit is magical incantations that I just ripped out of the GitHub source that I talked about above.
What I can tell you is this: remember when we talked about \result and its initial location on the page? You define that with \newgeometry. \result will place itself at the top left of the page, depending on where the margins allow. Here, by setting both top and left margins to 0 millimeters, \result will be placed exactly in the top left corner. You can play with the other margins as you please, I haven’t seen any effect from them.
Coffins conclusion
Thank Mr. Skeltal
Honestly, it’s not actually as bad as I initially pretended it to be. It’s typical open-source shenanigans though, with painfully little hands-on explanation, so I figured this could be useful to anyone else looking to waste their time as their deadline approaches.
I’ve put a minimal working example up on my GitHub.